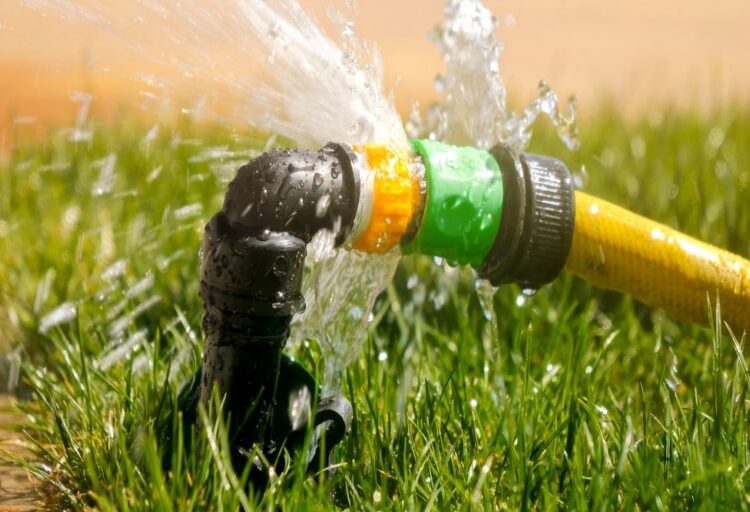
Outdoor faucets are convenient for washing the garden or cleaning the car. Unfortunately, that convenience doesn’t come without risk.
Despite being small, a leaky outdoor faucet can cause foundational damage to your house. So you don’t want to sit on the problem for too long.
Don’t worry. You don’t need plumbing experience to solve the issue. With easy-to-follow instructions, I’ll show you how easy fixing leaky outdoor faucets can be.
1. Identify the Source of the Leakage
The first step in solving any problem is to identify its source. Fortunately, outdoor faucets have a simple design. The water mostly leaks from two spots: The handle or the spout.
If the water is dripping from the handle, all you have to do is tighten it with a screwdriver or a socket wrench. Then, tighten the packing nut behind it, and you’re done.
However, if the water is leaking from the spout, then you have to take the faucet apart to identify the issue.
2. Turn the Water Supply Off
Unless you’d enjoy a surprising blast of water to your face, turn off your water supply before taking the faucet apart. The shut-off valve’s location differs from one home to another.
You may find it in your basement, crawlspace, or garage. Once you’re done, turn your faucet on to drain any excess water.
3. Take the Faucet Apart
The most common reason behind faucets leaking is worn-out washers.
You see, washers play a crucial role in controlling the flow of water. If they’re broken or torn, you’ll be left with a leaky faucet. So you need to replace them.
Here’s the thing:
Different faucets have different designs. So, the disassembling process depends on the type of faucet you’re working with.
Regular Faucets
Taking regular faucets apart is pretty straightforward. All you have to do is unscrew the handle and you’ll find the washer behind it. That said, a few valve assemblies have two washers. So check if both need changing.
Use an adjustable wrench to undo the packing nut. Then, take the valve assembly out. You’ll find the second washer at the bottom.
Frost-Free Faucets
While disassembling a frost-proof faucet is more tricky, the first few steps are the same as a regular faucet. Unscrew the handle and packing nut. You’ll notice a thin rod protruding from the faucet with a round rubber piece around it.
That’s the faucet stem. Take the rubber piece out. Use the handle to twist it loose, then pull.
Keep in mind there’s a rubber check valve at the other end of the stem, so it’ll be a bit hard to pull. Don’t be afraid to use some force.
At the other end of the stem, you’ll find the retainer screw holding the washer. Undo it and use a screwdriver or a pluck to take the washer out.
4. Replace the Washer
Once you’ve taken the washer out, it’s time to replace it with a new one. You can buy a washer assorted kit from Amazon. These include various washers of different sizes. So choose the one that suits your model.
Unfortunately, there’s too much room for error here, as it can be a hassle to know which washer fits your stem.
I recommend going to a plumbing supplies store. You’ll have professionals who can easily identify a proper replacement for your old washer. After that, put the new washer and tighten the screw that holds it.
5. Reassemble Your Faucet
Now that the hard part is over, all that’s left is reassembling your faucet.
As we’ve already mentioned, faucets have different designs. So, the assembling process will be different for each one.
Regular Faucets
Put the valve assembly in the faucet, then use an adjustable wrench to tighten it. You may have to hold the sprout with the other hand to prevent the faucet from moving too much.
Don’t over-tighten the assembly, as that can damage it quickly. Next, screw the handle, turn the water supply on, and you’re good to go.
Frost-Proof Faucets
Once you’ve tightened the screw holding the new washer, put the stem back inside the hose bit. You can use the handle to twist it tight.
Reinstall the packing washer and rubber packing. Insert the packing nut, tightening it with a wrench. Screw the handle back, and you’re done.
Things to Consider Before Reassembling Your Faucet
Although worn-out washers are the most common reason behind leaky faucets, replacing them doesn’t guarantee yours will stop leaking. There are other parts that might cause the leakage.
If replacing the washer doesn’t solve the issue, I recommend replacing the faucet stem altogether. You can also undo the handle and bonnet screw, then replace the O-ring and packaging gasket.
Wrapping Up
Now you know what to do when your outdoor faucet is leaking. Don’t assume the worst right away. A simple twist of the packing nut might fix the problem.
If that doesn’t work, then you’ll have to take the faucet apart and replace the old parts. Your first target should be the washer. If that doesn’t work, you can try replacing the stem, O-ring, or packaging gasket.


